

This course is part of the education path
Buy 20% cheaper the bundle Get the best deal!
See Education PathSTARTS NOVEMBER 1, 2026 · SIX-WEEK ONLINE COURSE · AUDITOR US$139 · PREMIUM US$299
Position changes are six movement problems—not one exercise with three answers.
Sit to stand, stand to sit, stand to down, down to stand, sit to down, and down to sit each require a different organization of the body. A transition can look correct from the handler’s position while a small paw adjustment, weight shift, or delivery pattern quietly changes the next repetition.
Position Changes in Obedience teaches you to build all six front-paw-anchored transitions individually, then add prompt transfer, handler-position changes, distance, waiting, and cues without losing the movement you intended.
- Format:
- independent online study
- Access:
- one year from purchase
- Focus:
- front-paw-anchored obedience position changes
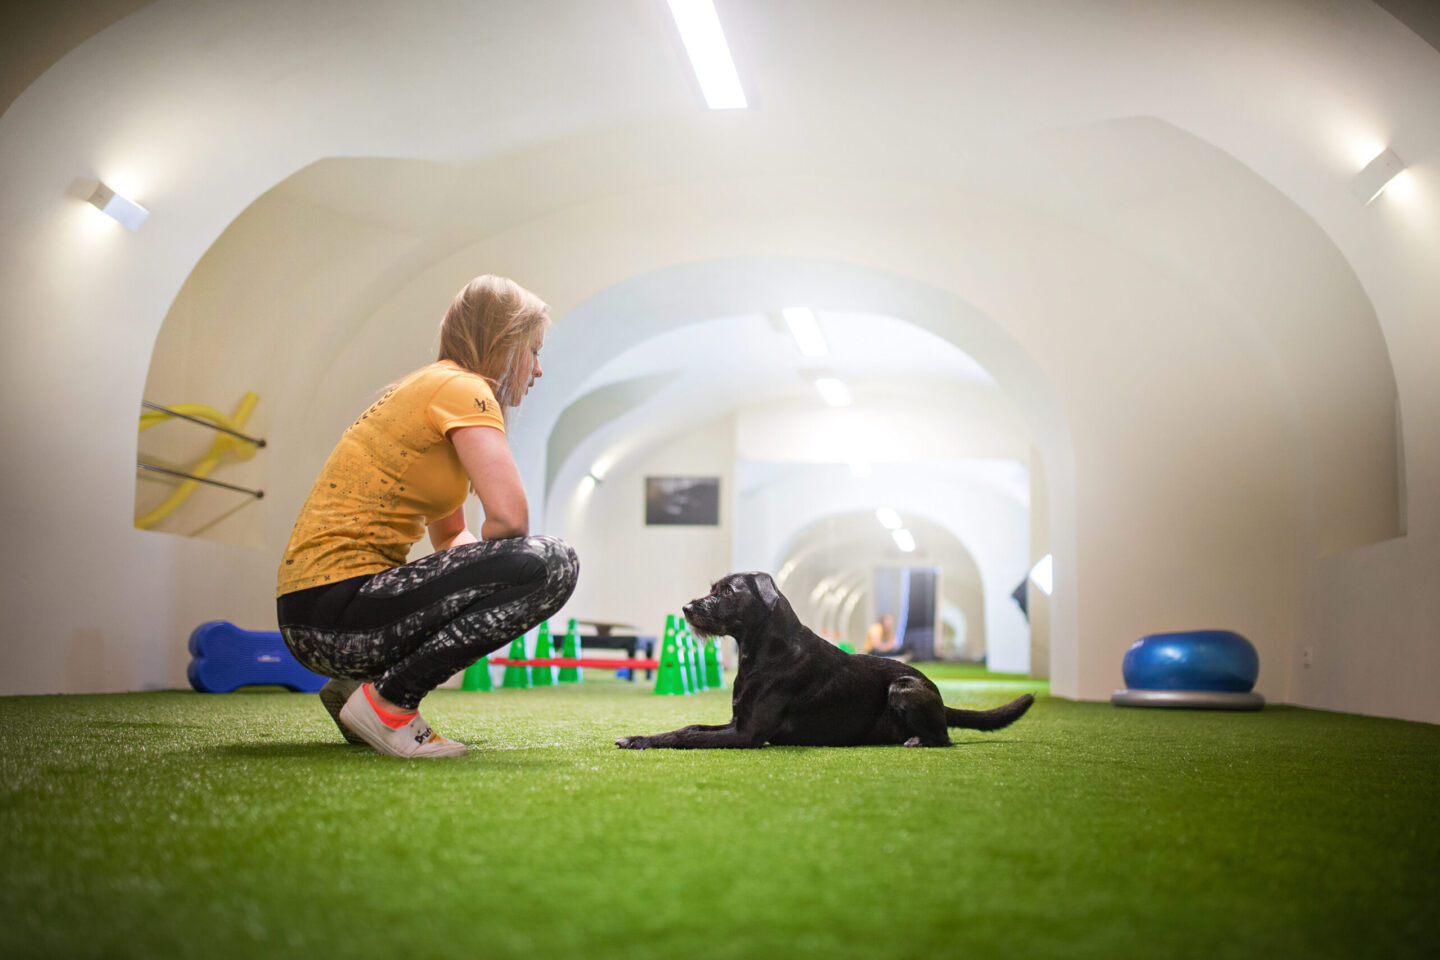 Precision begins with the route into the position: weight shift, paw movement, prompts, and reinforcement placement.
Build movement you can explain
- Separate the transitions
- Give each of the six movements its own starting arrangement, mechanics, criteria, and evidence.
- See the first change
- Observe weight transfer and paw movement before the final posture hides how the learner arrived there.
- Add difficulty cleanly
- Fade prompts, vary the trainer’s position, add distance, and establish cue control one dimension at a time.
The final position is not the whole behavior
A sit from stand does not ask for the same movement as a stand from down. One may begin with a backward weight shift; another requires a different change in the shoulders, spine, and rear limbs. Platforms, hand targets, chin rests, trainer posture, and reinforcement placement can help organize that movement—or become part of a cue package you never intended.
This course slows the exercise down before adding distance. You will decide what the front-paw anchor means for each transition, film from an angle that shows the feet and line of the body, and keep separate records. Progress in one cell of the matrix does not automatically transfer to the other five.
The six-transition matrix
Stand → Down
- Build the movement foundation and define how the front-paw anchor is maintained.
Down → Stand
- Work backward from the fluent ending and organize the first weight shift.
Stand → Sit
- Separate the intended backward movement from stepping or folding forward.
Down → Sit
- Build the transition as its own behavior, not as a variation of the final position.
Sit → Stand
- Plan paw placement, body line, prompt history, and reinforcement location.
Sit → Down
- Complete the matrix with a separate analysis of movement and likely compensations.
The training route
- Define the movement rule. Identify the starting position, ending position, anchor, and first weight shift.
- Arrange the foundations. Use chin rest, hand touch, platforms, and offered behavior only where they clarify the target movement.
- Plan delivery. Place reinforcement so it supports the current transition and the beginning of the next repetition.
- Transfer and fade prompts. Notice which parts of your body or setup have joined the cue package.
- Add distance and cue control. Build waiting for the cue before asking the behavior to survive changes in location and posture.
Your six-week learning map
Week 1 · Build the training system
Examine distance control, the learning loop, offered behavior, chin rest and hand touch, stand-to-down, and a delivery protocol that supports the movement.
Week 2 · Plan from the end position
Work backward from the picture you want and build down-to-stand and stand-to-sit with clear starting criteria.
Week 3 · Expand the atlas
Add down-to-sit and sit-to-stand, then vary the trainer’s position without allowing that change to become an accidental cue.
Week 4 · Complete the matrix and fade prompts
Add sit-to-down, audit the prompts still present, and transfer control deliberately.
Week 5 · Add distance
Treat distance as its own criterion and build waiting behavior so rapid position changes do not become an uncued chain.
Week 6 · Establish cue control
Add cues to movement patterns that are already available and complete a separate readiness check for all six transitions.
What you will use
- a six-transition planning and progress matrix;
- side-view video analysis with the feet and body line visible;
- foundation behaviors including chin rest and hand touch;
- a prompt and trainer-position audit;
- reinforcement-placement plans for individual transitions;
- distance as a separate criterion; and
- a final cue-control and readiness check.
See the movement
The example below shows the kind of precision and movement analysis developed in the course. It illustrates a training process, not a guarantee of speed or competition results.
Is this course a good fit?
This course is for competitive-obedience handlers, professional trainers, dog-sport trainers, and thoughtful training enthusiasts who want to understand front-anchored position changes instead of copying a single recipe. Your goal can be competition or simply more precise movement.
You should be comfortable using a marker cue and delivering reinforcement. The course focuses on front-paw-anchored transitions used in obedience distance control. Rear-anchored position changes are a different mechanical system and are outside this course. Pause and reassess whenever the learner shows an unexpected movement, compensation, discomfort, or change in balance.
Your instructor
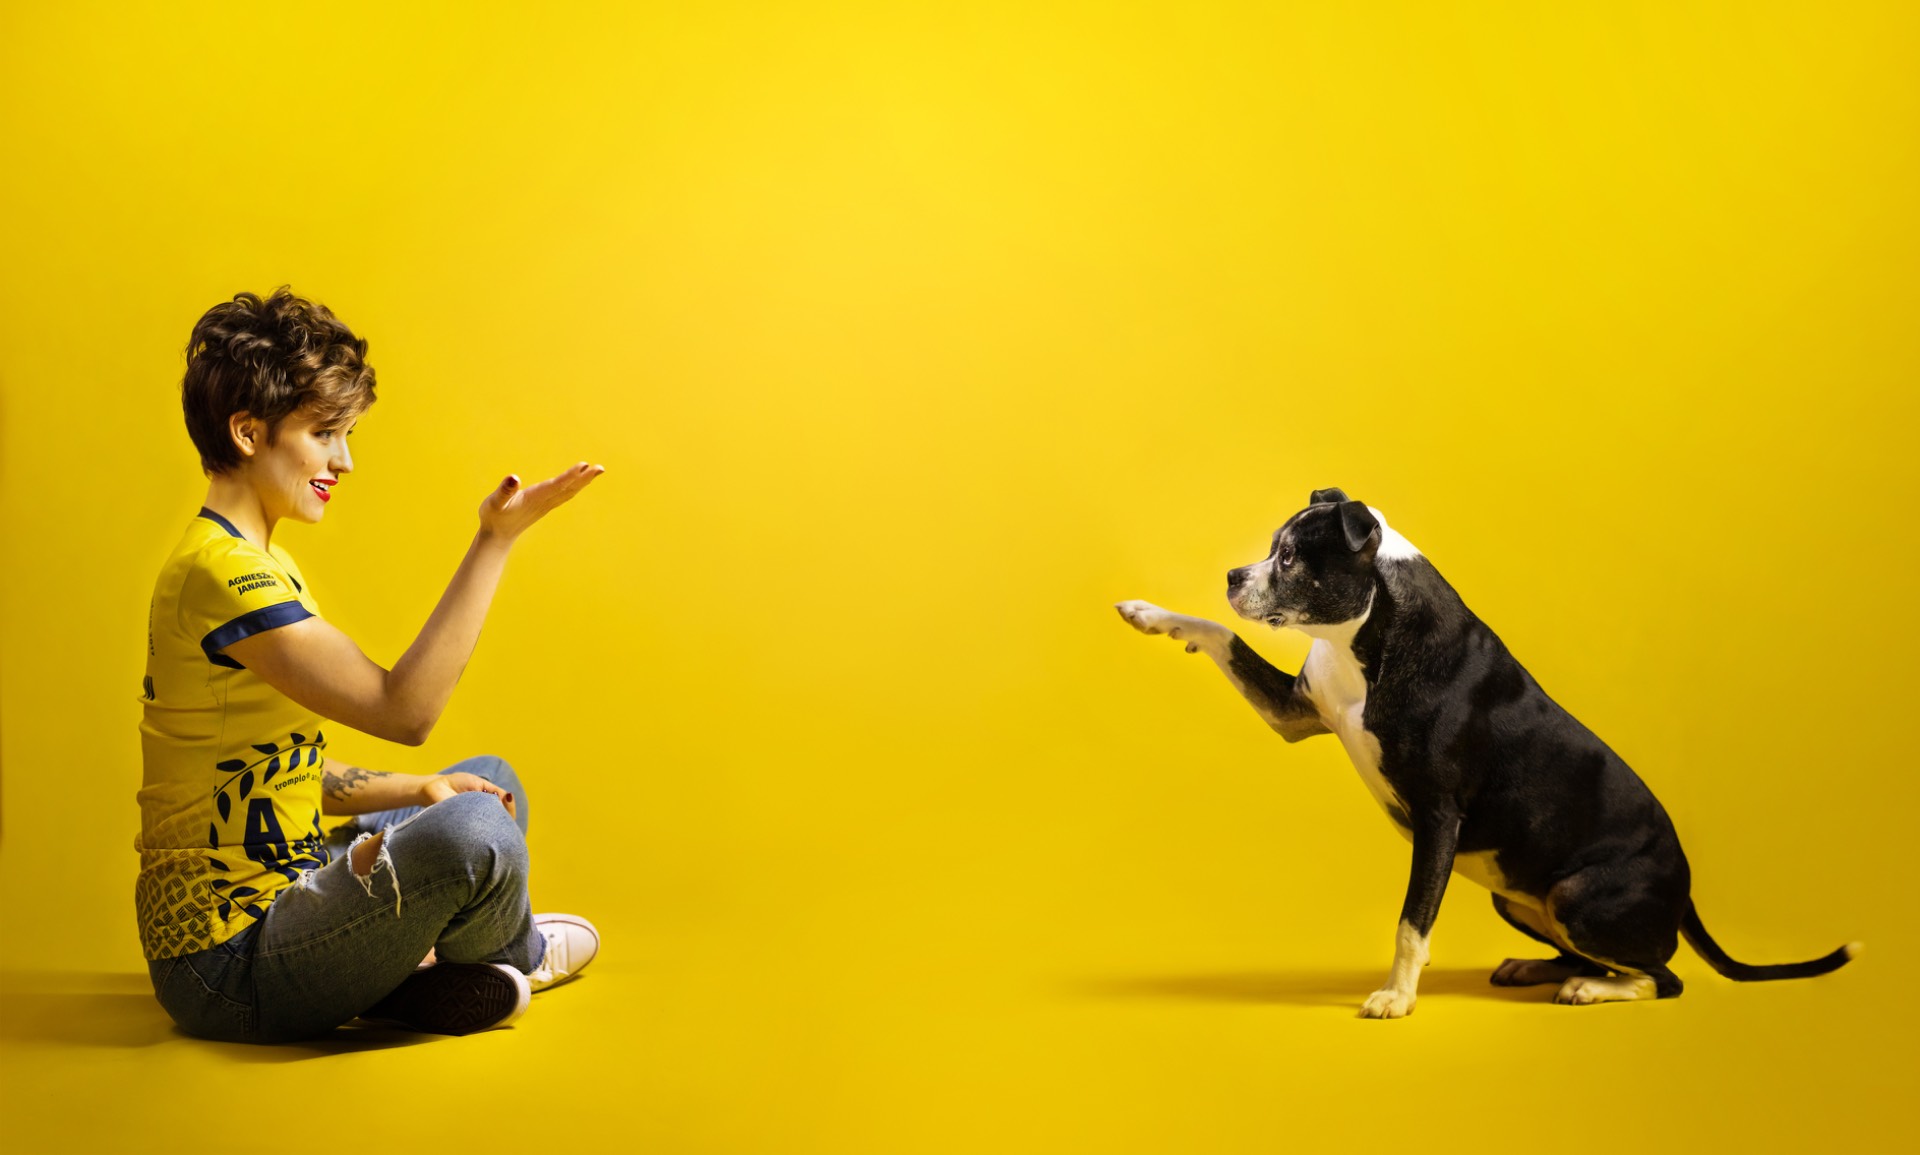
Agnieszka Janarek is the founder of Tromplo and an animal trainer with a background in Applied Behavior Analysis. Her teaching joins precise observation, humane training arrangements, and the mechanics required for fluent performance.
I love the detail in position changes, but detail should make training clearer rather than more restrictive. My goal is to help you build precision from fluency, balance, predictable consequences, and a movement the learner can repeat.
Build all six movements as a system
Auditor US$139 · Premium US$299 · six weeks · one year of access.
You receive written lessons, video demonstrations, practical exercises, and a complete route from movement foundations to distance and cue control. plus personalised feedback for Premium Spot
Join Position Changes in Obedience
Questions before you enrol
Does the course teach rear-paw-anchored position changes?
No. The course develops the six front-paw-anchored transitions. Rear-anchored changes require a different mechanical system.
Do I need to compete in obedience?
No. The examples and rules are organized around obedience distance control, but the movement analysis is useful to anyone who wants clearer, more precise transitions.
Will I add cues immediately?
No. The course first builds the movement and waiting behavior, then transfers prompts and adds cues when the relevant transition is available.
Does this offer include individual review?
Yes if you chose Premium spot. The Auditor / self-study route. It includes the complete materials, demonstrations, exercises, and one year of access the Premium gives you daily feedback
Choose November Premium · US$299