Spin
Today I want to explore another behavior: spinning around.
I saw this behavior taught in many different ways. One of them is the following:
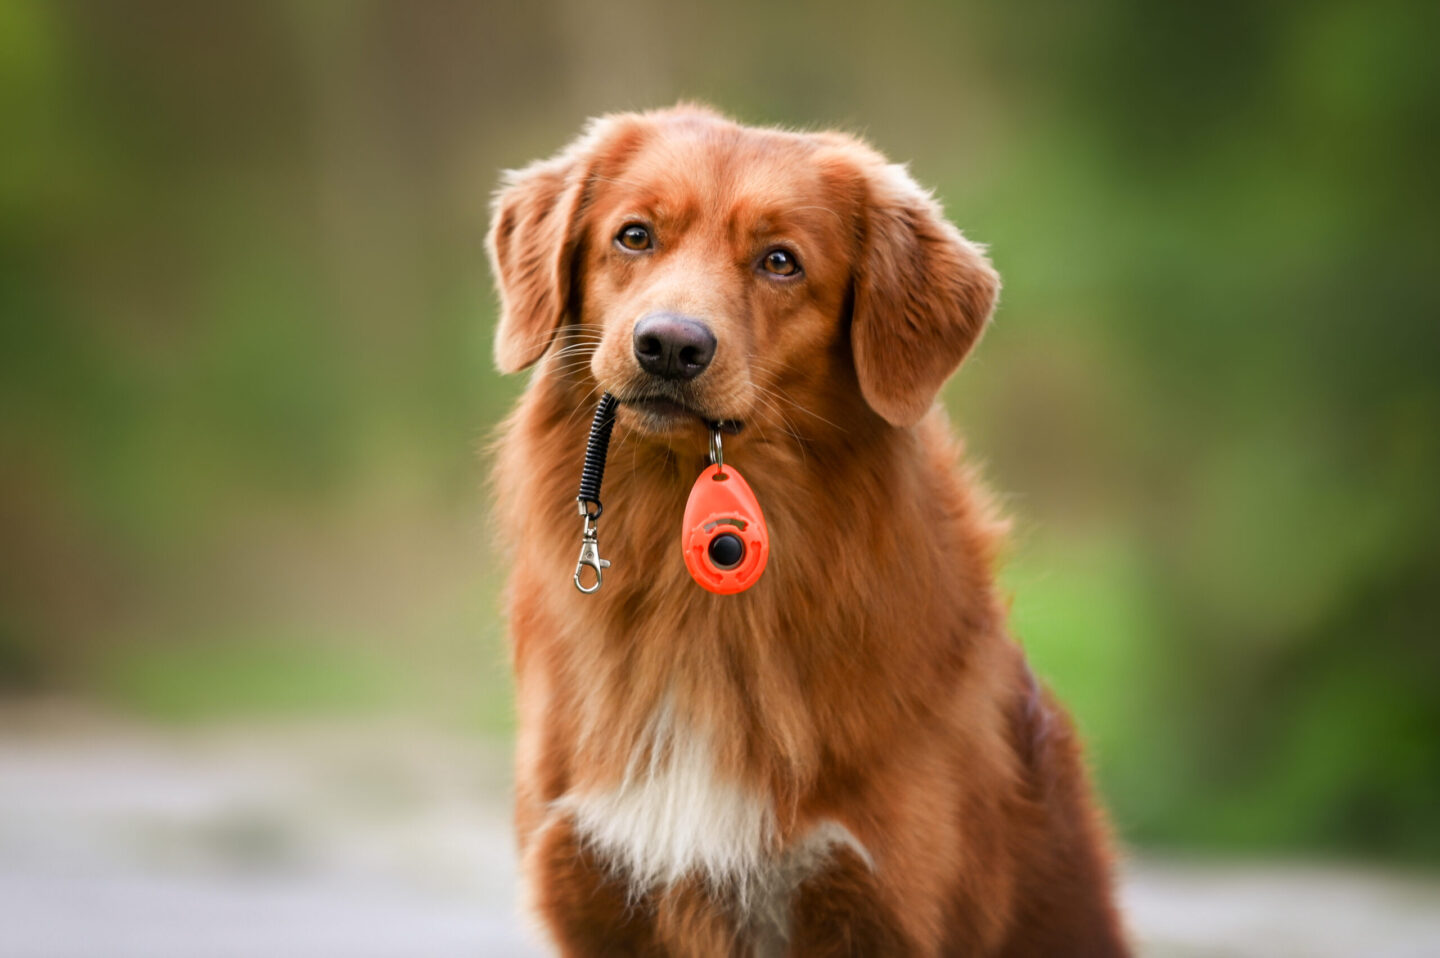
I use my luring hand to guide Camelot and make her spin. One good idea is to break down this behavior into very small parts, especially if your dog finds hard to make a complete circle. You can start by just making the head turn a bit. You can lure and reward this movement a bit before gradually extending the spin until you build the entire behavior. Obviously you can use the clicker: click for the head turn first, then for the lateral flexion of the spine and at the end for the entire movement.
I did all this with Camelot and, after many repetitions, I expected her to offer a spin. But she didn’t. For some reason she found it difficult. I don’t know exactly why, but this fact made me even more convinced about using another strategy.
Let me tell you that there’s nothing wrong with using luring, it’s one of the ways we have to get the behavior. I just want to say that sometimes your plan doesn’t work and you need a different plan.
Here’s the other option we have. I learned it from Agnieszka Janarek 🙂
It looks a bit more complicated but to me it is very clear for the learner.
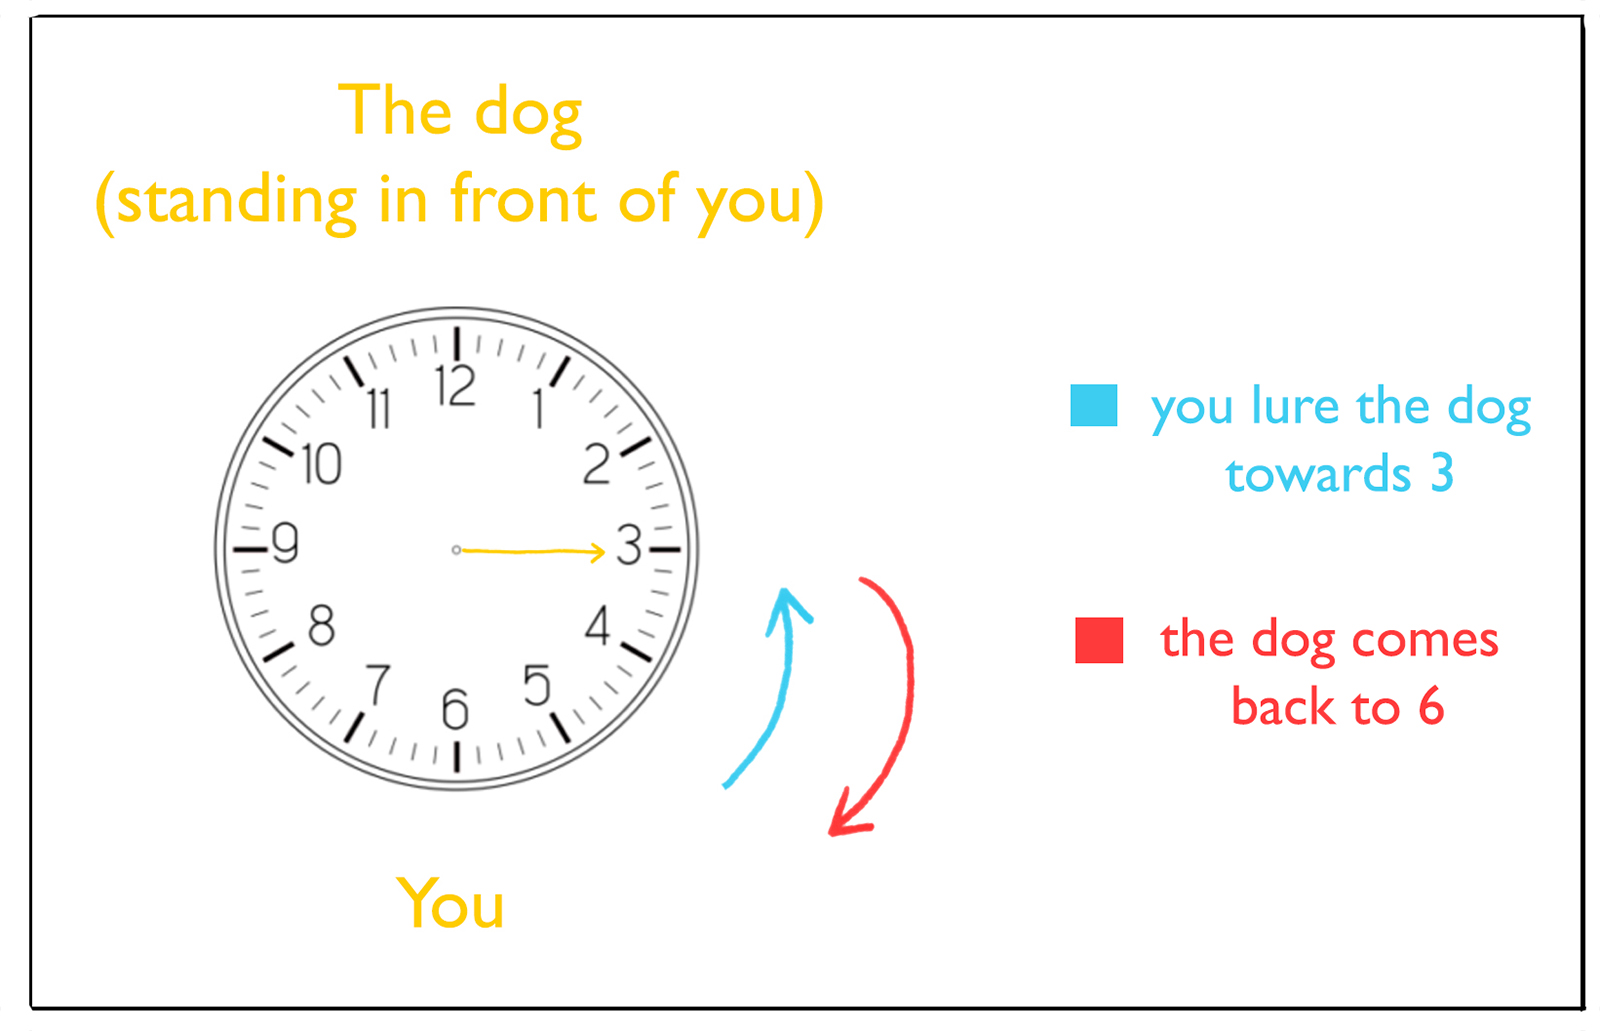
First, you have to build a base position. I like to teach a stand on a platform (remember, no slippery surface). It is very important, it is crucial to do this before moving on, otherwise the risk is that the dog doesn’t understand how to turn.
If you build a strong reinforcement history for standing on a platform in front of you (or on another target), it is very likely that he will try to reach this position to make you click, right? If you lure him to the side he will eat the treat and immediately go back in the initial standing position because that’s where he’s been reinforced before!
Let’s visualize all this with the help of an image.
Let’s have a look at this video.
Notice that the moment I click is when she is at 5 – 6. In the beginning you can click when the dog arrives at 6 but later it’s better to change the moment you mark (this is my personal experience), it’s better to click the movement and feed in position ( = click at 5 and reward at 6).
So now what you have to do is practice this until you see your pup has no doubts on what to do. Once we have this, we can move on.
Now instead of giving a treat at 3, you can give it a 2. If the previous steps are correct, your dog should behave as before: he should turn on his right side. Again, once you see the behavior is fluent, you can go on and place the dog at 12. Gradually you can increase the distance from the base position.
The following part is a bit more challenging. When your pup is able to turn from 12 to 6, you proceed in the same way (give a treat at 11, 10, 9, etc).
What can happen at this point? Sometimes when he starts at 11, instead of turning to his right side like before, he turns on his left side to reach the base position. In my opinion this happens when we click the base position instead of clicking for the movement to reach that position. It is a bit like the sit we discussed in a previous lesson: if you click the final position and not the movement, it is the dog the one who chooses how to sit.
If this happens, don’t worry, just go back a step and focus on clicking the movement.
This is the beauty of the clicker.. you can communicate very small details!
Look at Québy that chooses to turn on the wrong side (yes, it happened to us too! 🙂
In this video the last part of the exercise. After some reps Quèby started to offer the spin! I was a proud mum 🙂
Homework: Looking forward to seeing you try this.